
Last updated November 2, 2026
 Wrought iron
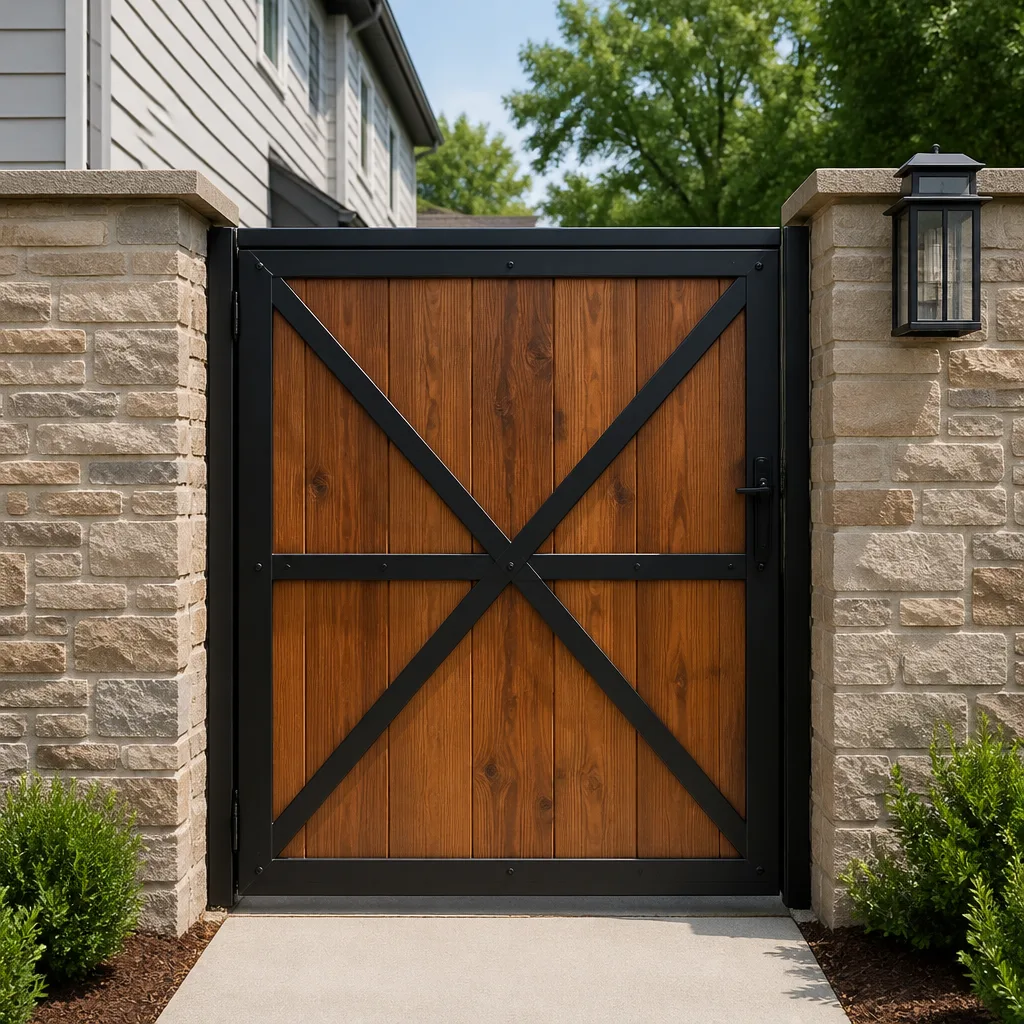 Wood & steel frame
 Farm & ranch
 Sliding driveway gates
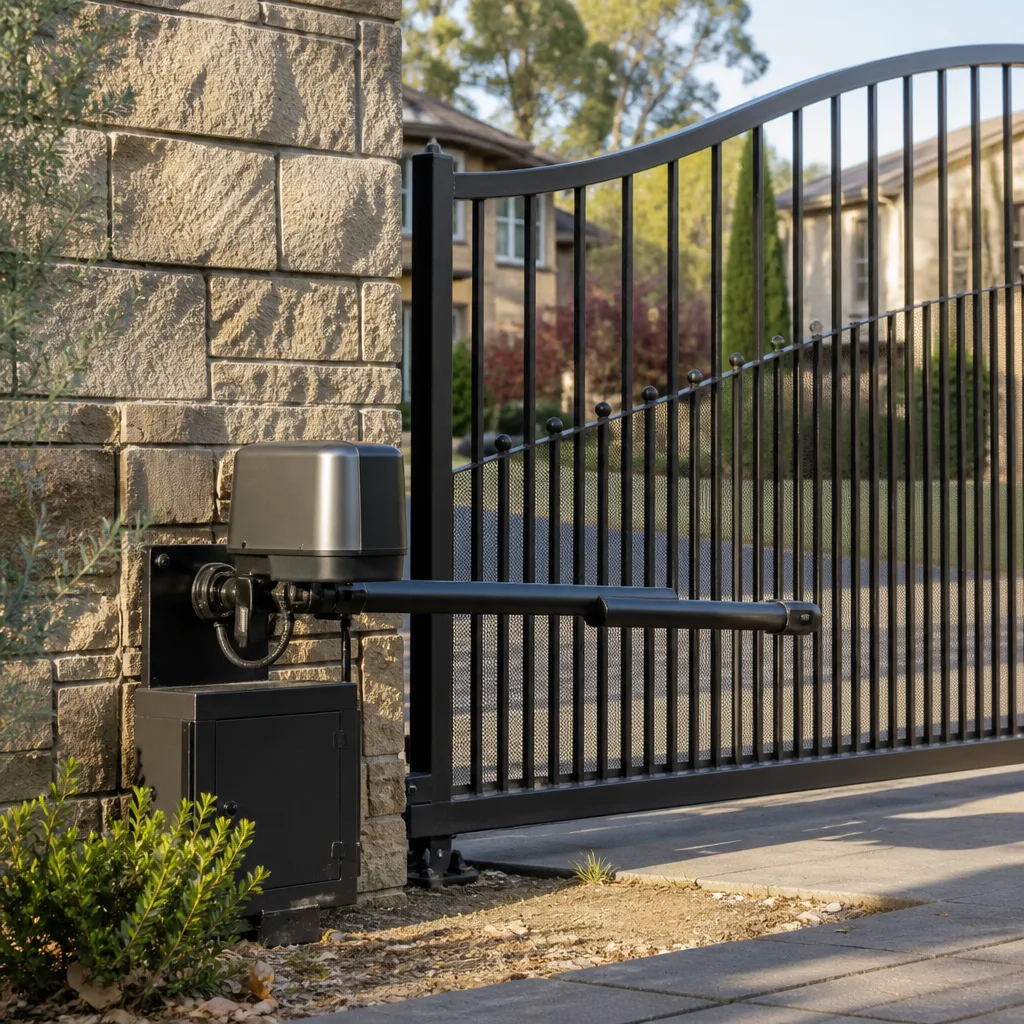 LiftMaster operators
Free on-site gate assessment - hinges, posts, and your LiftMaster or Nice gate operator checked before anything is quoted
The assessment is free and the quote is the invoice.
Get your free estimateGate Repair Troubleshooting: Common Problems and How to Fix Them
Here’s a counterintuitive fact from years of gate work in Pocket: most “dead operators” aren’t dead at all. We regularly pull up to homes where a homeowner or another contractor has condemned a $1,200 motor, when the actual fault is a $14 logic board fuse, a misaligned photo eye, or a low battery in the keypad. The problem is that most troubleshooting guides online skip the diagnostic sequence entirely. They jump straight to “test the capacitor” or “replace the operator” without establishing what actually failed. This guide fixes that. You’ll learn the exact sequence we use on every service call, which steps you can safely handle, which ones require a licensed technician, and how to gather information that gets you an accurate phone estimate instead of a vague “we’ll have to see” range.
Quick Answer
Gate repair troubleshooting should always follow a set diagnostic sequence: power supply first, then safety sensors, then control board, then mechanical components, then the operator motor itself. Most gate failures in Pocket are caused by simple issues such as dead batteries, tripped breakers, dirty sensor lenses, or a loose wire at the control board, not a failed motor. Before calling a repair company for our Gate Repair services, check power, check for visible obstructions, note the operator’s error-code blink pattern, and write down exactly what the gate does and does not do.
Styles & brands we work with
- Wrought iron
- Wood & steel frame
- Farm & ranch
- Sliding driveway gates
- LiftMaster operators
Table of Contents
- The Layered Troubleshooting Sequence: Why Power Comes First
- The Five Most Misdiagnosed Gate Symptoms and Their Real Causes
- Which Troubleshooting Steps Are Safe for Homeowners
- How to Read Error Code Blink Patterns on LiftMaster, Viking, and Ghost Controls
- What to Have Ready Before Calling a Gate Repair Company
- Preventive Maintenance That Prevents Most Breakdowns in Pocket
- Common Mistakes to Avoid
- When to Call a Professional
The Layered Troubleshooting Sequence: Why Power Comes First
Every gate system, from a basic Mighty Mule swing arm to a commercial Viking slide operator, has a dependency chain. When you skip a layer, you waste time and money. Here’s the sequence we follow on every Pocket service call, and why the order matters.
Layer 1: Power supply. The operator cannot do anything without clean, consistent power. This includes the breaker, the GFCI outlet if one is installed, any disconnect switch, and the low-voltage transformer. A gate that worked yesterday and is dead today is usually a tripped breaker, a GFCI that tripped after rain, or a transformer that failed. This is also the cheapest layer to test. Checking it first costs nothing and rules out the most common single point of failure.
Layer 2: Safety sensors. Photo eyes, safety edges, and loop detectors are intentionally designed to override the motor. A misaligned photo eye can perfectly mimic a dead operator: the gate refuses to close, the motor hums, and nothing moves. If you check the motor before the sensors, you might replace a working operator and still have the same problem.
Layer 3: Control board. The logic board interprets signals from remotes, keypads, sensors, and limit switches. Blown fuses, corroded relay contacts, and failed capacitors live here. This is where error-code blink patterns become essential because they narrow the fault to a specific circuit on the board.
Layer 4: Mechanical components. Hinges, rollers, tracks, chains, belts, and the gate itself. A sagging gate puts load on the operator that it was never designed to handle. In Pocket, we see this constantly on older swing gates where the post has shifted in the soil and the gate now drags against the ground or the hinge pin binds.
Layer 5: The operator motor and gearbox. Only after the first four layers check out do we condemn the operator itself. Motors and gearboxes do fail, but they are rarely the first thing to fail, and they almost never fail silently. By the time a motor burns out, it has usually been struggling against a mechanical bind or a bad capacitor for months.
This sequence exists because each layer can only be accurately tested after the previous layers are confirmed good. Skipping to Layer 5 is how a $12 fuse turns into a $1,800 operator replacement.
The Five Most Misdiagnosed Gate Symptoms and Their Real Causes
Over the years, we’ve seen the same five symptoms confuse homeowners and generalist contractors alike. For Gate Repair Warning Signs: A Pocket Homeowner’s Reference Guide, here’s what’s actually going on in each case.
1. The gate reverses immediately after closing
Most people assume this is a sensor issue, and they’re often right, but not always in the way they think. The real sequence to check: first, verify nothing is physically obstructing the gate’s path. Then, clean the photo eye lenses with a dry cloth. Dust, spider webs, and morning condensation in Pocket routinely cause false obstruction signals. If the gate still reverses, test the safety edge. A cracked or waterlogged safety edge can send a constant obstruction signal even when nothing is touching it. Only after these check out should you suspect the control board is misreading sensor input.
2. The gate opens but won’t close
This is almost always a failed or obstructed safety device. When a gate opens normally but refuses to close, the operator’s logic board is doing exactly what it was designed to do: it believes something is in the way, and it’s refusing to close on that obstruction. The most common culprits in Pocket are misaligned photo eyes that shifted when a post settled, a safety edge that’s been damaged by a vehicle bump, or a loop detector that’s picking up a metal object that wasn’t there before. Start with the photo eyes. One of them will have a red or green LED that’s either out or blinking when it should be steady.
3. The gate beeps but won’t move
A beeping operator is trying to tell you something. On most systems, a beep without movement means the operator is in “vacation mode,” the battery backup has engaged, or the operator has locked itself out after too many obstruction events. On Mighty Mule and Ghost Controls systems specifically, a repeating beep with no movement often means the control board has detected a fault and is in a protective lockout. Unplugging the operator for 30 seconds and reconnecting it clears most lockouts. If the beeping returns immediately, the board is seeing a persistent fault, and it’s time to read the blink pattern or call us.
4. The remote works but the keypad doesn’t
Remote works, keypad dead: this is almost never an operator problem. It’s a power or programming problem at the keypad itself. Wireless keypads run on batteries, and a low battery in a Pocket keypad that’s been out in the elements for two years is the most likely cause. Replace the battery first. If the keypad is hardwired, check the wiring at the keypad and at the control board for corrosion. Only after both check out should you re-enter the programming code. Ghost Controls and LiftMaster keypads both require a specific programming sequence that’s easy to get wrong if you’re reading a generic online guide.
5. The gate drifts open overnight
A gate that slowly opens on its own is usually a mechanical problem, not an electrical one. On swing gates, a drifting gate means the operator’s internal limit system has slipped, or the gate’s hinges have worn to the point where the gate no longer rests where the operator expects. On slide gates, drift usually means the chain or belt has stretched, or the limit nuts on the drive rail have moved. We see this frequently in Pocket on older Viking and Linear slide operators where the limit nuts back themselves off after years of daily cycling. This is a mechanical adjustment, not a board replacement.
Which Troubleshooting Steps Are Safe for Homeowners
This section matters to us because we’d rather have you do five safe checks and call us with useful information than open a live control panel and hurt yourself. Here’s the honest line.
Safe for homeowners:
- Checking and resetting the circuit breaker
- Testing the GFCI outlet with the test and reset buttons
- Cleaning photo eye lenses and verifying the LED status lights
- Replacing batteries in wireless remotes and keypads
- Visually inspecting the gate track, hinges, and wheels for debris or obvious misalignment
- Removing sticks, rocks, or overgrown vegetation from the gate path
- Unplugging the operator for 30 seconds and reconnecting it to clear a lockout
- Reading error-code blink patterns through the control board cover (without removing it)
- Lubricating hinges and rollers with a proper gate lubricant, not WD-40
Not safe for homeowners:
- Any work inside the control panel with power connected. Gate operators run on 120V or 240V line voltage. The low-voltage side is safe to inspect visually, but the moment a screwdriver enters the panel, you’re working near live terminals. We’ve seen the aftermath of a homeowner who tried to test a capacitor with the power on. It’s not worth it.
- Adjusting hydraulic actuators. FAAC and BFT hydraulic swing operators operate under significant pressure. Opening a bleed valve or adjusting a bypass without the right tools and training can cause the gate to move unexpectedly and with force.
- Spring replacement on a swing gate or counterweight adjustment on a slide gate. Stored mechanical energy releases suddenly. This is how people lose fingers.
- Programming a new safety sensor or loop detector. These components talk to the control board at low voltage, but getting the wiring wrong can fry the board. A $50 sensor becomes a $400 board problem.
The rule we give every Pocket homeowner: if the fix involves opening the control panel cover with tools, disconnecting wires, adjusting springs, or touching hydraulics, stop and call us. The diagnostic information you gather before calling is valuable. The attempted repair is not.
How to Read Error Code Blink Patterns on LiftMaster, Viking, and Ghost Controls
Most modern gate operators flash an LED in a specific pattern to indicate a fault. Learning to read these patterns turns a vague “my gate is broken” phone call into “I have a LiftMaster LA500 with a five-blink pattern,” which is the difference between a guess and a diagnosis.
- Count the blinks. Watch the LED on the control board (or the diagnostic LED visible through the cover) and count the blinks before a pause. Most patterns repeat every few seconds.
- Note the pattern length. Short blinks vs. long blinks matter. A long blink is often a separator between digits. Write down what you see, like “two short, pause, three short.”
- Match the pattern to the brand. LiftMaster, Viking, and Ghost Controls each publish error-code charts, but here are the patterns we see most often in Pocket.
LiftMaster LA400/LA500 series commonly shows two blinks for a photo eye obstruction. Three blinks often indicates a battery low or the operator is on battery power. Five blinks on a LA500 usually means a motor overcurrent condition, which is a mechanical bind that’s causing the motor to work too hard. It’s not the motor failing. It’s the motor telling you something is stuck.
Viking R6 and G5 series use a separate diagnostic LED that flashes fault codes. A steady two-flash pattern on a Viking slide operator often points to a limit switch fault, meaning the operator doesn’t know where the gate is. This can result from the gate drifting as described above, or a failed limit switch. Viking’s three-flash pattern frequently indicates a safety loop fault.
Ghost Controls systems are popular in Pocket for residential swing gates and have a straightforward blink code system. Two red blinks on the control board typically signal a safety sensor fault. A red LED that’s solid with the gate open and not moving can indicate the operator is in party mode or vacation mode. Ghost Controls also uses a specific sequence of beeps plus blinks when there’s a stuck actuator.
Write the pattern down, note the brand and model from the operator label, and share it when you call. It saves a service call from starting with 20 minutes of observation.
What to Have Ready Before Calling a Gate Repair Company
If you want a phone estimate that’s actually accurate instead of a wide range, have this information ready. We can diagnose a surprising amount from this list before ever rolling a truck.
- Brand and model of the operator. It’s on a label on the side or back of the motor unit. Take a photo before you call.
- The exact symptom. Not “the gate is broken.” Be specific: “The gate opens normally with the remote but will not close with the keypad or remote. It beeps three times and stops.” The more precise, the better.
- The LED blink pattern. If you can see the diagnostic LED, count the blinks and write it down.
- When the problem started. Did it fail suddenly, or has it been getting worse over weeks? Did it happen after a storm, after a power outage, or after landscaping work?
- What you’ve already tested. Let us know you reset the breaker, cleaned the photo eyes, and replaced the remote battery. It prevents us from re-diagnosing what you’ve already ruled out.
- Gate type and material. Swing or slide? Steel, aluminum, or wrought iron? A heavy steel slide gate with a failing roller has a different diagnosis than a light aluminum swing gate with a sensor fault.
- Any recent work on the property. New pavers, fence replacement, or tree trimming near the gate path can all introduce a fault. This is the most common “we don’t know what happened” answer in Pocket: a contractor moved something.
This list works for any gate company, but it’s especially useful when you’re calling around for multiple estimates. See How to Hire a Gate Repair Contractor in Pocket: A Step-by-Step Guide for what to ask. The company that asks follow-up questions based on your answers is the one that will diagnose correctly.
Preventive Maintenance That Prevents Most Breakdowns in Pocket
Pocket’s climate is unusually hard on gate components: hot dry summers bake plastic sensor housings, winter rains cause soil movement that shifts gate posts, and morning fog leaves a film of moisture on photo eyes and control boards. A little maintenance prevents most of the failures we see.
- Clean photo eyes monthly. A dry microfiber cloth removes dust, pollen, and fog residue that causes false obstruction signals. This single task prevents more service calls than any other.
- Lubricate hinges and rollers twice a year. Use a silicone-based or lithium-based gate lubricant. WD-40 attracts dust and gums up over time. The goal is a thin film, not a coating.
- Check for post movement annually. Walk the gate through its full range and watch the gap between the gate and the ground. If the gap changes from end to end, the post is moving. Catch it early and a concrete shim fixes it. Let it go and you’ll need a new post set.
- Test the battery backup every six months. If your operator has a battery, disconnect the AC power and verify the gate still operates. A battery that hasn’t been tested in three years is a battery that will fail during the next power outage.
- Trim vegetation around the gate path. River rock, overgrown shrubs, and tree roots that shift pavers are constant sources of gate obstruction in Pocket yards. Keep a clear path at least six inches wider than the gate on all sides.
- Inspect safety edges visually. Look for cracks, UV damage, or signs of water intrusion. A safety edge that’s cracked at the seam will eventually fill with water and short out.
Common Mistakes to Avoid
- Replacing parts before diagnosing. A new operator will not fix a broken photo eye. A new photo eye will not fix a tripped breaker. Diagnose first, replace second. This is the single most expensive mistake we see, and it comes from troubleshooters who don’t trust the sequence.
- Using WD-40 on gate hinges and rollers. It cleans and temporarily lubricates, then collects dust and thickens into a gummy mess that causes new binds. Use a silicone or lithium gate lubricant.
- Power-cycling repeatedly instead of finding the fault. Unplugging the operator clears the lockout, but if the underlying fault is still there, the lockout returns. Three power-cycles without a change in behavior means the fault is persistent, and it’s time to read the blink code or call.
- Adjusting limit switches without marking the original position. Limit switches set the gate’s travel endpoints. Moving them changes the gate’s open and close positions, and without a reference mark, you’ll spend hours trying to get them back.
- Ignoring a noisy gate. A gate that squeals, grinds, or clunks is telling you something is wearing out. The noise usually starts weeks or months before the actual failure. Treat the noise as the warning it is.
- Buying generic replacement parts online without verifying compatibility. A cheap generic photo eye may not communicate correctly with a LiftMaster or Ghost Controls board. We see gates with constant sensor faults caused by an incompatible aftermarket sensor that was “a good deal” online.
- Skipping the manual release check. Every automated gate has a manual release mechanism, usually a key or a handle. If you don’t know where yours is, find out before the next power outage. Knowing how to open your gate manually is a basic ownership responsibility, not an optional extra.
When to Call a Professional
You’ve reset the breaker, cleaned the photo eyes, replaced the remote battery, and noted the blink pattern. The gate still misbehaves. That’s your line. Any symptom involving the control panel interior, hydraulic fluid, high-tension springs, or a motor that hums but doesn’t turn is a technician-level job. The good news is that a gate specialist can diagnose what a generalist cannot. We work on nine major brands day in and day out, including Viking, DoorKing, and Ghost Controls, so the blink pattern you describe means something specific to us. Gatehouse Gate Repair offers free estimates in Pocket. Call (833) 620-5971 and describe what you’ve found. We’ll tell you honestly whether it’s a service call or something you can finish yourself.
See the difference
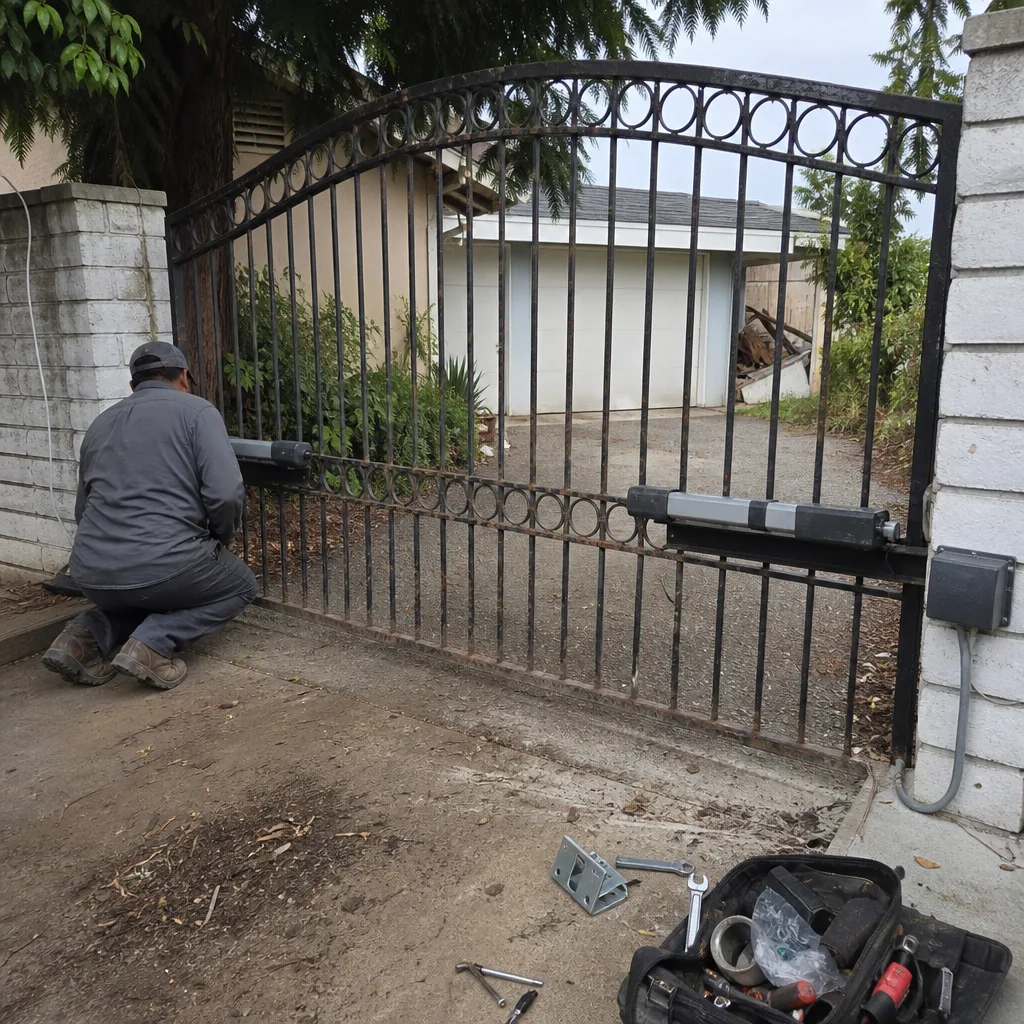 Before
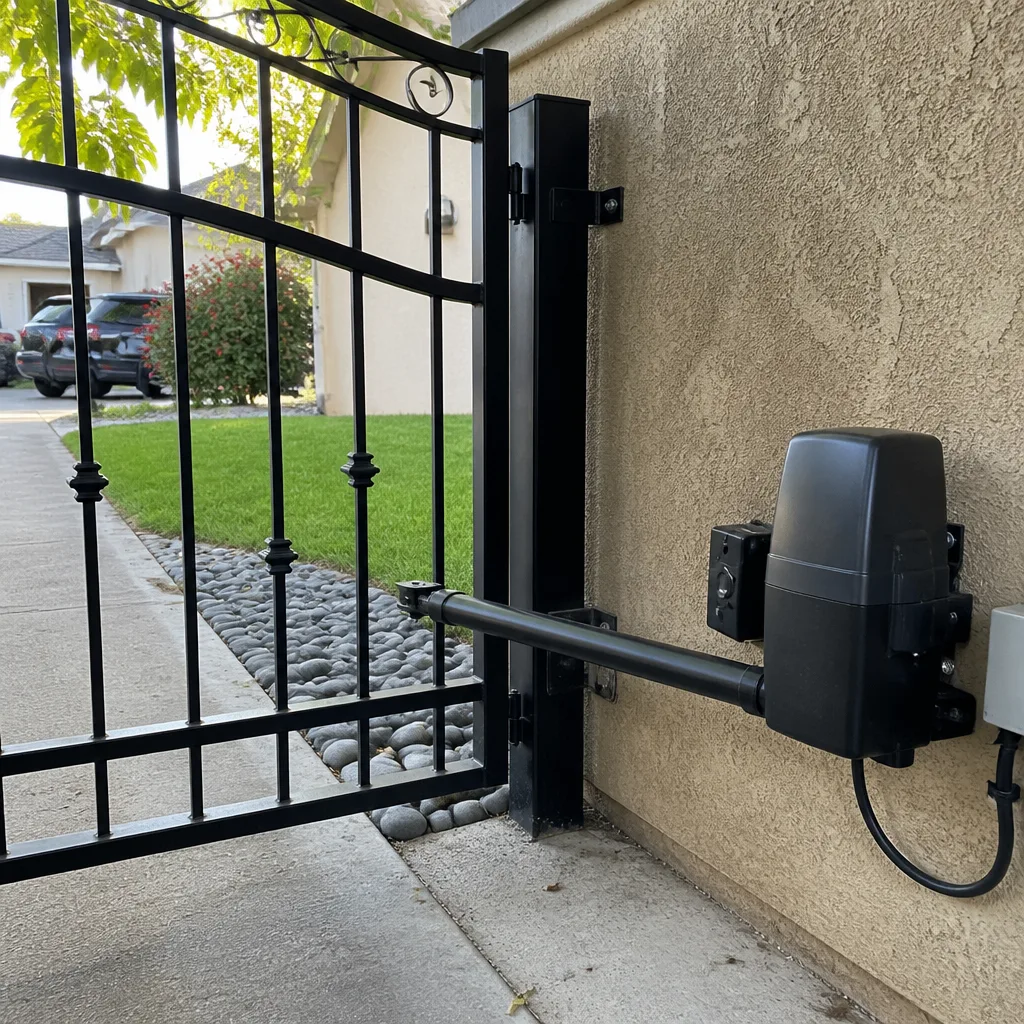 After
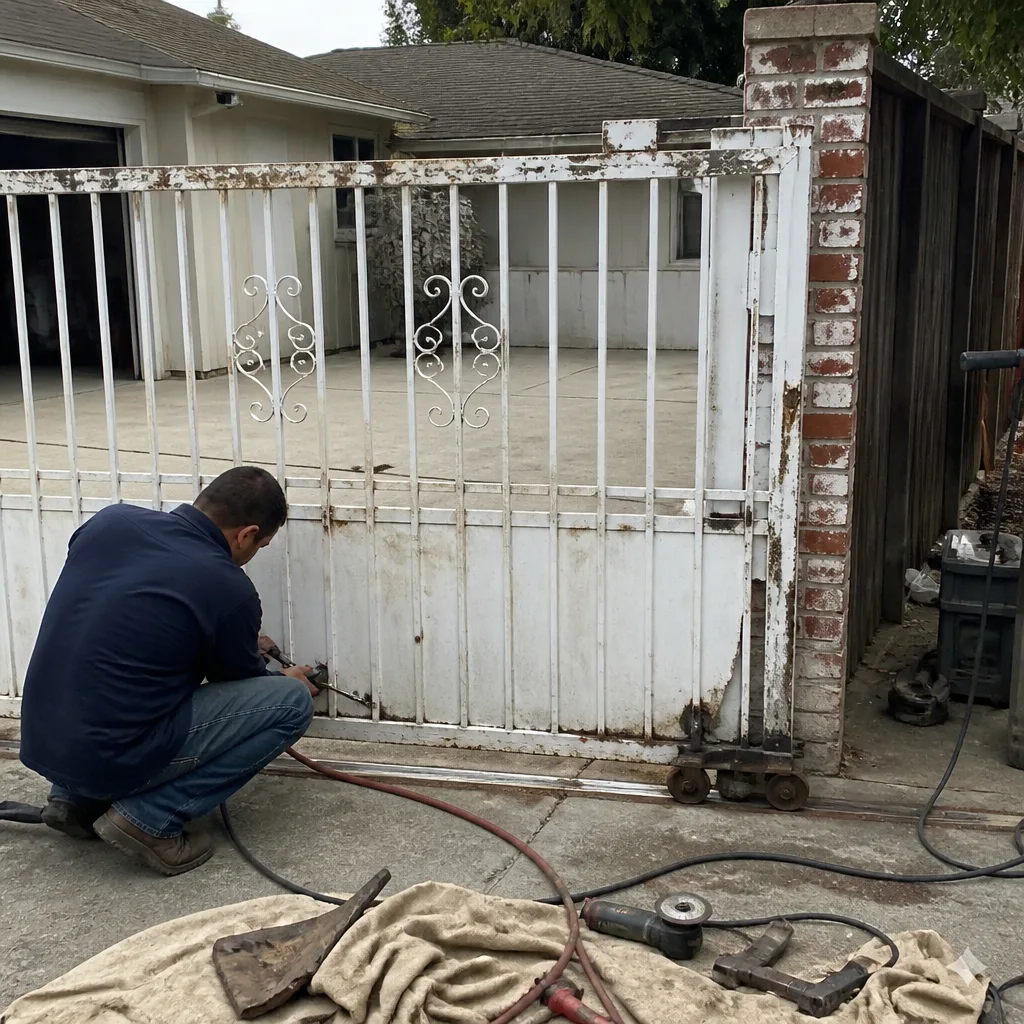 Before
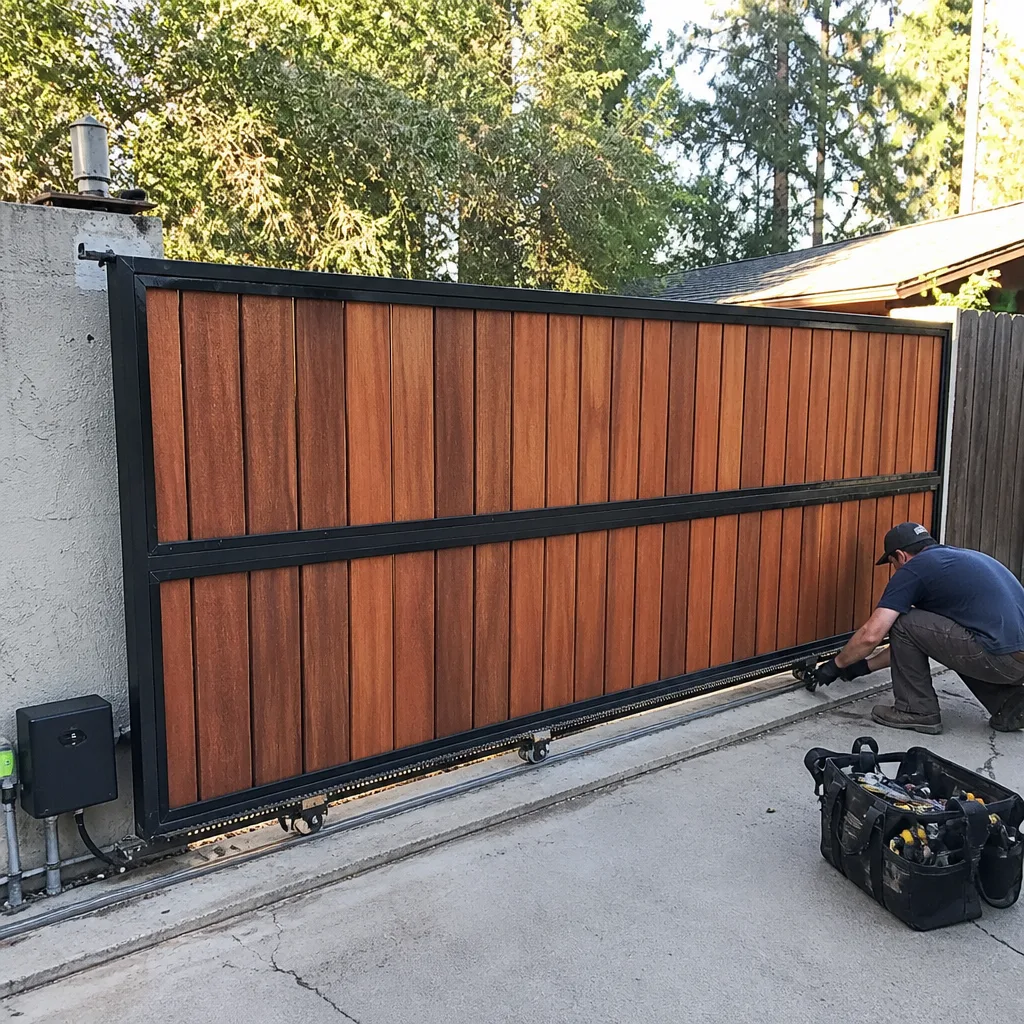 After
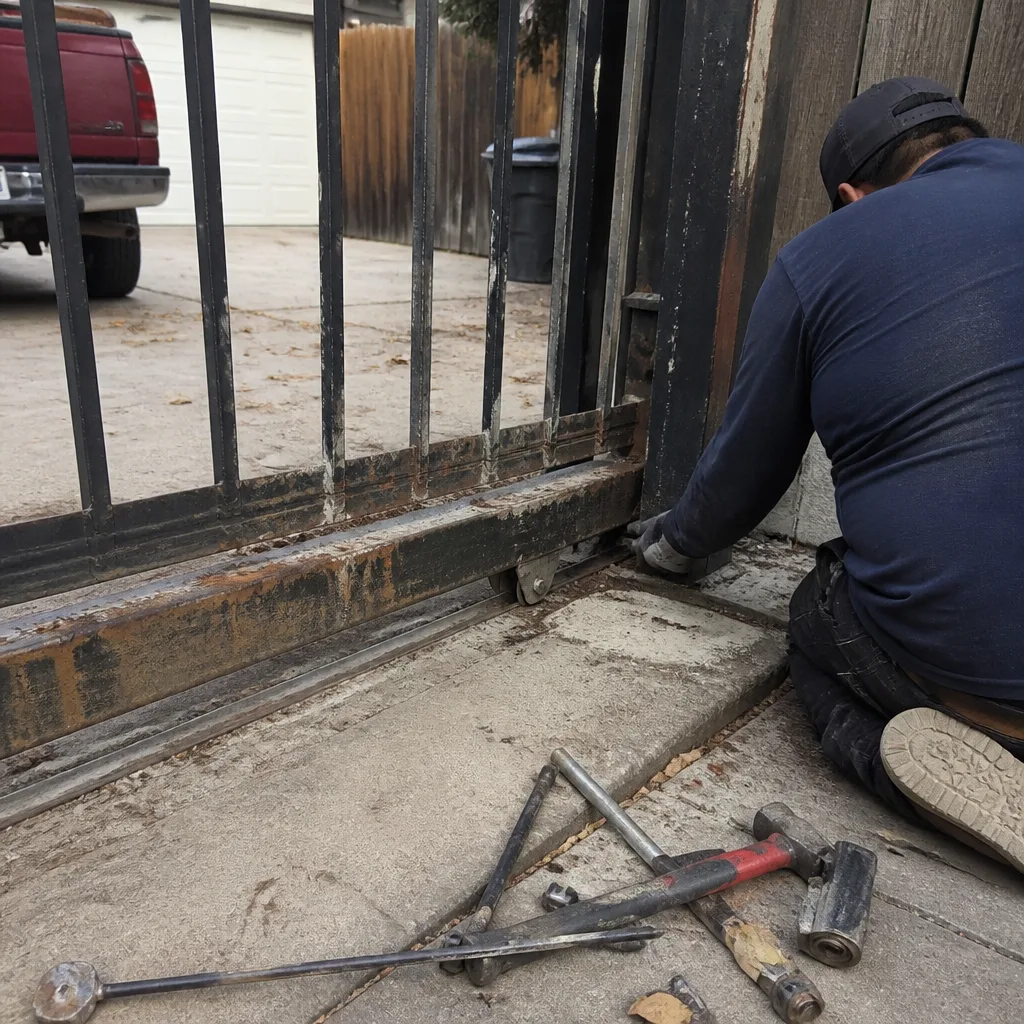 Before
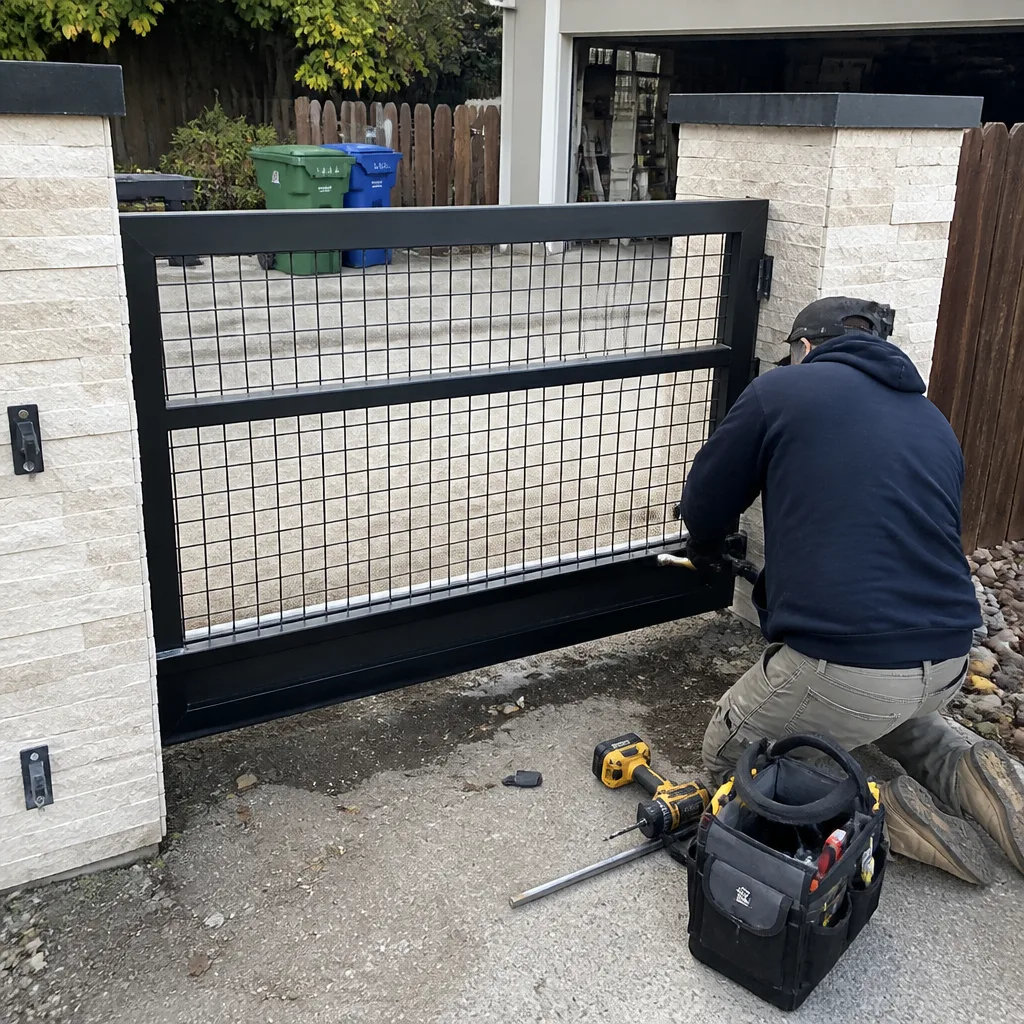 After
Frequently Asked Questions
A gate that opens but refuses to close is almost always reacting to a false safety sensor signal. The operator believes something is in the gate’s path, so it refuses to close. Check the photo eyes first: clean the lenses, verify the alignment, and confirm the LED status lights. Then check the safety edge for cracks or water damage. If both are clear, the control board may be misreading a sensor input, and that’s a technician-level diagnosis.
Most gate operators reset themselves when power returns, but some enter a lockout state after a voltage surge or brownout. If your gate is unresponsive after a power outage in Pocket, first verify the breaker is fully on and the GFCI is reset. Then unplug the operator from its outlet or disconnect switch, wait 30 seconds, and reconnect it. If the operator still doesn’t respond, note the LED status and call for service.
Beeping without movement usually means the operator is in a fault lockout, vacation mode, or battery backup mode. The specific meaning depends on the brand. A repeated beep on a Ghost Controls system often indicates a safety sensor fault. A single beep on a Mighty Mule can mean the battery is too low to operate the gate. Check the operator’s manual for the beep pattern meaning, or note the pattern and call a gate specialist who knows that brand’s codes.
Not necessarily. A humming motor that won’t move is often a capacitor failure or a mechanical bind, not a failed motor. On some operators, the capacitor is a $30 to $60 part that a technician can replace in under an hour. The motor itself may be perfectly fine. A proper diagnosis checks the capacitor, the gearbox, and the gate’s mechanical movement before condemning the operator.
Technically yes, but it involves line voltage wiring, limit switch programming, safety sensor alignment, and force adjustment. Getting any of these wrong creates a gate that won’t close properly, closes with excessive force, or doesn’t meet safety standards. For a Pocket homeowner, the risk outweighs the savings. Gatehouse Gate Repair handles complete Gate Installation in Pocket, and we quote the full price before any work starts, so you know exactly what you’re paying for.
Gate repair in Pocket typically ranges from $85 for a simple limit switch adjustment or photo eye cleaning to $400 to $800 for control board replacement, depending on the brand and model. A full operator replacement runs $900 to $2,500 installed, with commercial slide operators at the upper end. We quote the price and get your agreement before any work begins, so the invoice never surprises you. Call (833) 620-5971 for a specific quote based on your symptoms and operator brand.
The Bottom Line
Gate troubleshooting is a sequence, not a guessing game. Power first, then sensors, then the board, then mechanical, then the motor. Most Pocket gate failures are simple, cheap, and preventable, and most operator replacements are premature. Learn to read the blink codes, keep the photo eyes clean, test the battery, and find more guides & resources before calling a specialist when the job crosses into live voltage or mechanical energy. You’ll spend less, keep your gate working longer, and know exactly what’s wrong before the truck even rolls.
For gate troubleshooting help, Electric Gate Repair in Pocket is our full-service page. For general services, see Gate Repair in Pocket or start at our Gatehouse Gate Repair home page. Call (833) 620-5971 for a free estimate.
Written by the team at Gatehouse Gate Repair, serving Pocket since 2018.