
Last updated November 2, 2026
 Wrought iron
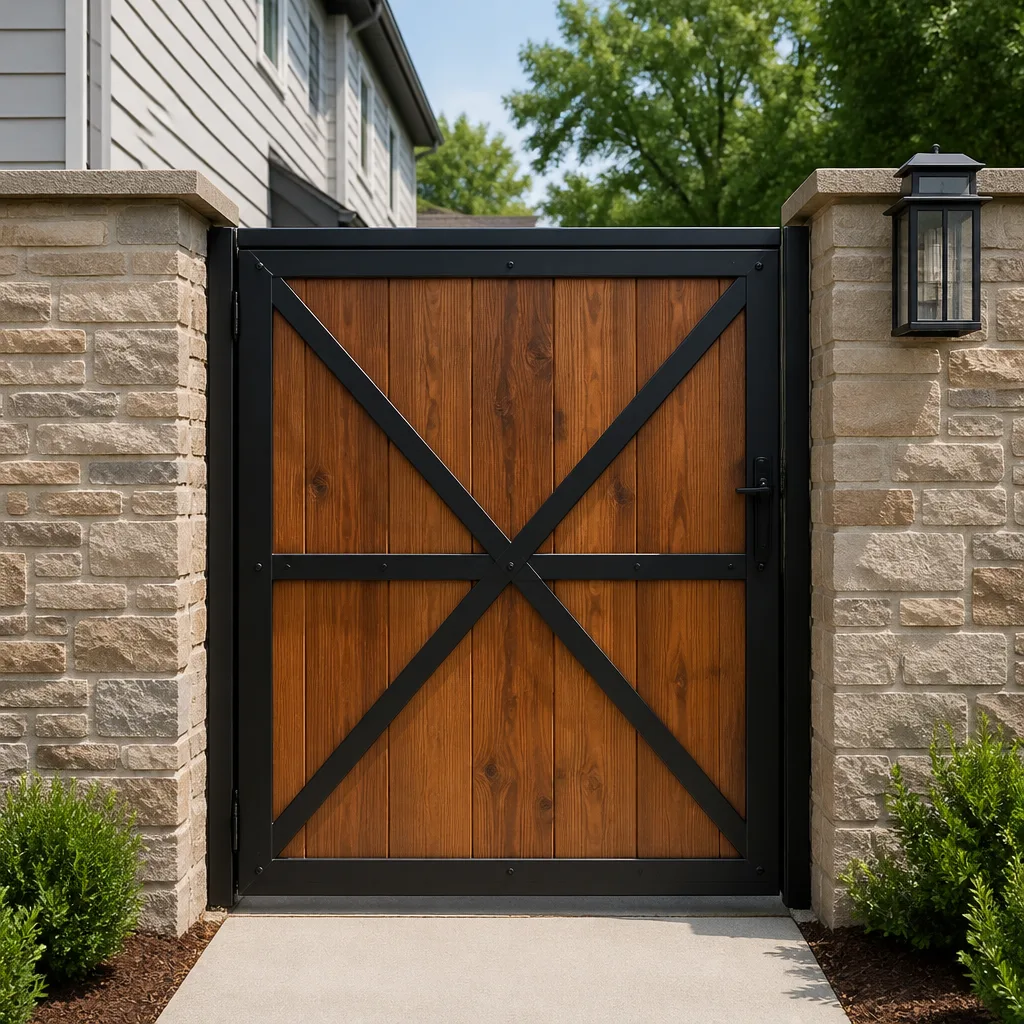 Wood & steel frame
 Farm & ranch
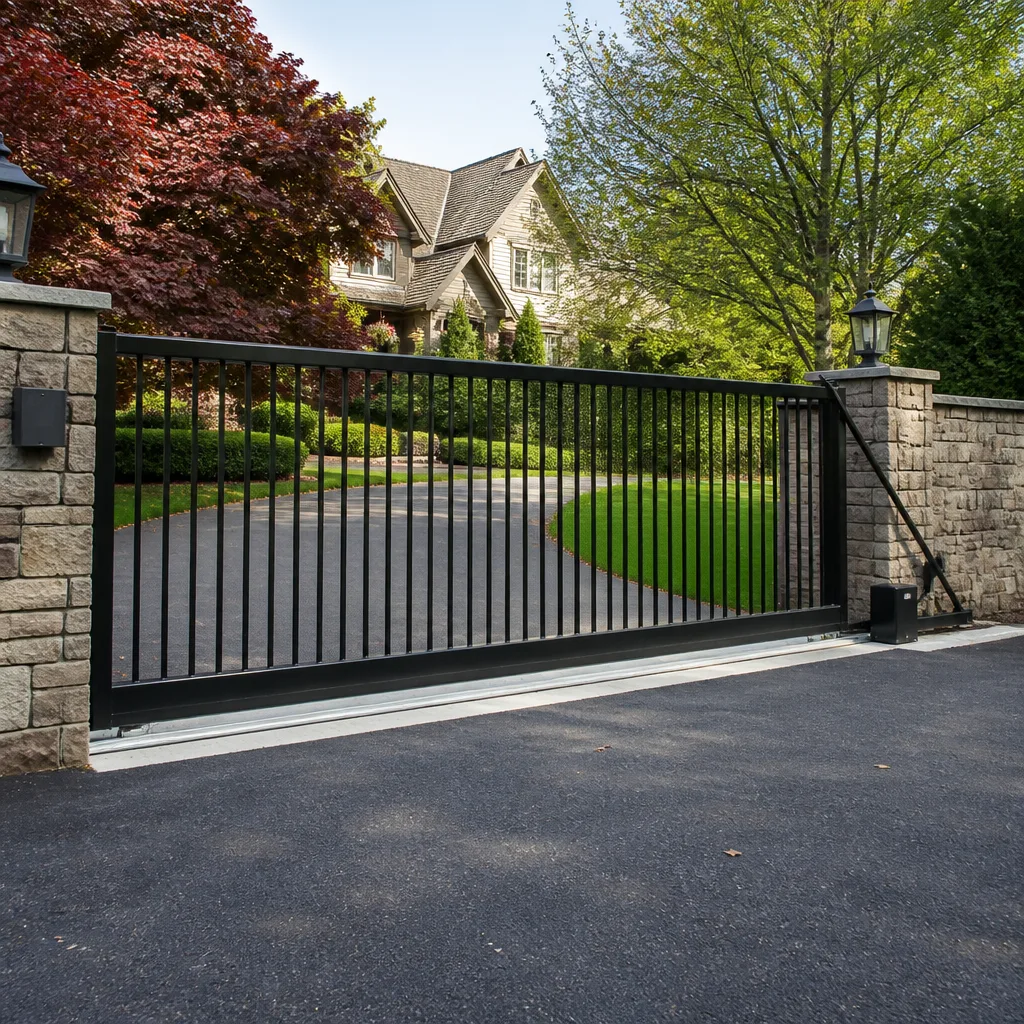 Sliding driveway gates
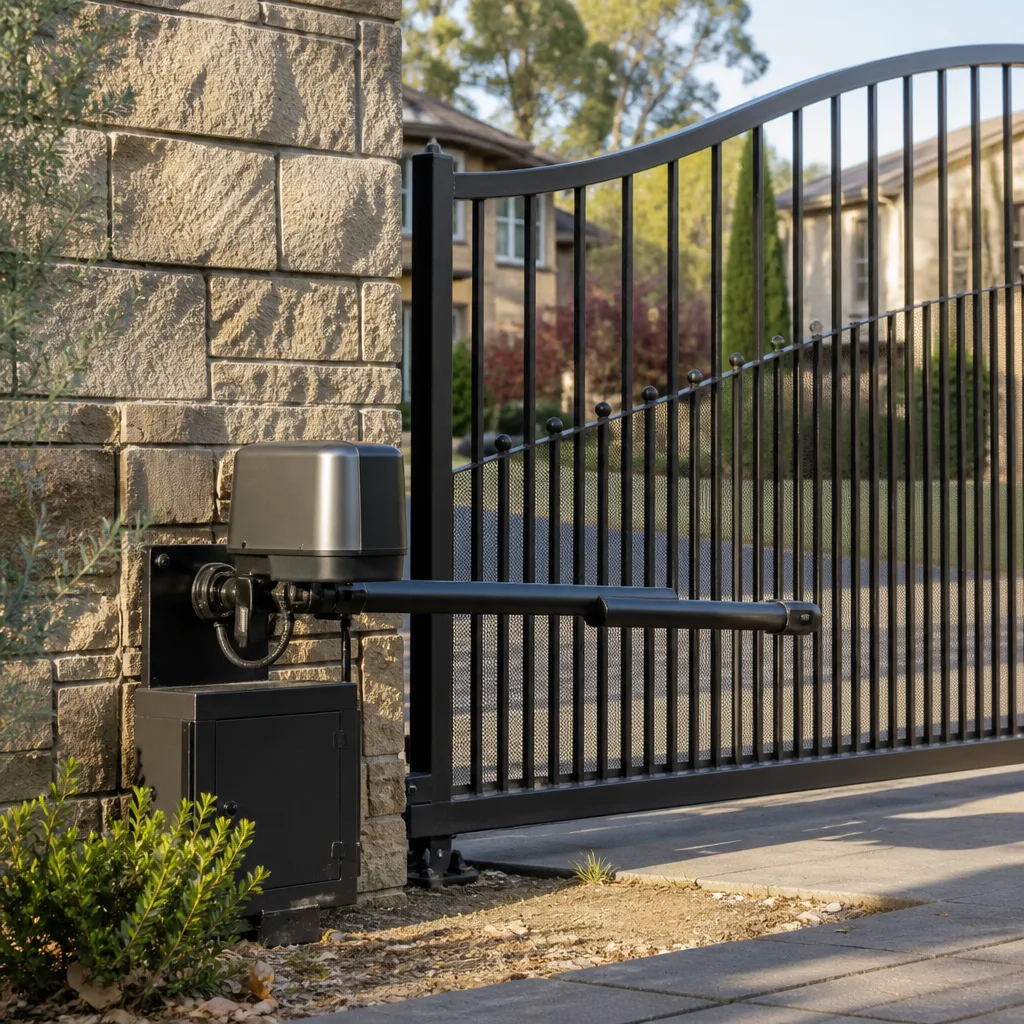 LiftMaster operators
Free on-site gate assessment - hinges, posts, and your LiftMaster or Nice gate operator checked before anything is quoted
The assessment is free and the quote is the invoice.
Get your free estimateDIY vs Professional Gate Repair: The Pocket Homeowner’s Decision Guide
A gate failing in Pocket isn’t a neutral event. It’s either blocking your car in the driveway when you’re late, or worse, pinned open inviting everything and everyone onto your property. Most homeowners who attempt a DIY gate repair in this neighborhood save between $80 and $250 on the first visit. A meaningful number of them spend the following weekend calling a professional anyway, now paying for the original problem plus whatever got damaged during the attempt. This guide draws the line between the gate tasks you can genuinely own and the ones where DIY creates liability, not savings, because the failure modes here range from an annoyance to a safety hazard recognized by federal standards.
Styles & brands we work with
- Wrought iron
- Wood & steel frame
- Farm & ranch
- Sliding driveway gates
- LiftMaster operators
Quick Answer
DIY gate repair in Pocket makes sense for lubrication, tightening visible hardware, and reprogramming remotes. It does not make sense for operator replacement, spring or counterweight work, electrical troubleshooting, or anything involving entrapment protection sensors, because UL 325 compliance and high-tension components carry safety and legal risk that outweighs the labor savings. If the gate is electric and the problem is not solved by fresh batteries, the correct first move is diagnosis, not disassembly.
Table of Contents
- The UL 325 Line: Why Automated Gates Are Regulated
- What You Can Safely DIY: The Short List
- What You Should Never DIY: The Liability List
- Task-by-Task Matrix: DIY or Pro
- The Real Cost of a DIY Operator Replacement
- Pocket Soil and the DIY Post Repair That Fails by Spring
- Preparing for a Professional Visit: Cut Diagnostic Time in Half
- Common Mistakes to Avoid
- When to Call a Professional
- Frequently Asked Questions
- The Bottom Line
The UL 325 Line: Why Automated Gates Are Regulated
UL 325 is not a suggestion. It’s a safety standard written because automated gates have killed people, and that fact should reset how you think about gate repair entirely. The standard exists to prevent entrapment: a gate closing on a child, a pet, a delivery driver, or you. Every automated gate sold in the United States must include entrapment protection, which means photo-eyes, safety edges, or both, and those devices must be calibrated to stop and reverse the gate when something breaks the beam or touches the edge.
Here’s the part most Pocket homeowners never hear: if you adjust or replace an operator, or even move a photo-eye, you become responsible for recalibrating the entrapment protection. Get it wrong and the gate can apply enough force to injure. Get it wrong and someone gets hurt, and the homeowner who altered the system carries the liability. Insurance companies understand this. So do attorneys. The manufacturer’s instruction manual is not decorative; it describes the required test procedures for a reason. It documents that the installer verified the gate meets UL 325 after the work.
In practice, this means the line between DIY and professional is less about skill and more about whether the repair touches the automated safety system. Lubricate a hinge? You’re fine. Move the actuator mount or replace the control board? You’ve now become the manufacturer of record for that gate’s safety compliance, whether you knew it or not. That’s the line. It’s not elitism from the gate industry; it’s physics and federal regulation combined.
What You Can Safely DIY: The Short List
There are gate tasks a homeowner in Pocket can handle without special tools, without safety risk, and without voiding any warranty. We’ll name them precisely, because precision here matters. If a task isn’t on this list, assume it should be handled by a professional or at minimum requires research beyond a YouTube video.
Tasks appropriate for a homeowner:
- Lubricating hinges, pivot points, and wheels with a white lithium grease or silicone spray. Do this twice a year in Pocket’s dry summers, when metal-on-metal friction accelerates wear and a swing gate starts to sag or squeal.
- Tightening visible bolts and brackets that have vibrated loose. Swing gates especially rattle hardware loose over a season of use.
- Reprogramming a remote or keypad when the manual is available and the system is from a major brand like Linear, DoorKing, or Ghost Controls. This is button-press work, not wiring work.
- Replacing remote batteries or keypad batteries. Start here every time a gate stops responding; in roughly one in five service calls, a dead battery is the entire problem.
- Clearing debris from the gate track for slide gates. Pebbles, twigs, and Pocket’s dry leaves find their way into the rail and cause the operator to reverse or stall. Sweeping the track is maintenance, not repair.
What all of these have in common: they don’t involve electricity beyond a battery, they don’t involve tensioned springs or counterweights, and they don’t alter the safety devices. That’s the principle. If your repair would require touching any of those three categories, read the next section before you reach for a wrench.
What You Should Never DIY: The Liability List
Now the other side. You’ll notice these items share a theme: stored energy or electrical current, plus a compliance angle. A professional gate technician treats these systems as dangerous until proven otherwise, and so should you. This isn’t gatekeeping. It’s the honest reality of what sits inside an automated gate.
- Operator replacement or motor work. Gate operators run on line voltage and include capacitors that hold a charge even after power is disconnected. Installing one requires mounting, limit setting, force adjustment, entrapment calibration, and compliance testing. One skipped step leaves you with a gate that can crush whatever is in its path. Professionals who do this daily still test twice. A homeowner doing it once from the manual makes mistakes that don’t reveal themselves until the failure is dangerous.
- Spring and counterweight work. A swing gate with a tension spring or torsion system stores force you can’t see and can’t safely release without experience. These springs can unload without warning and cause serious injury. Slide gates have similar issues with chain tensioners and pulley systems under load.
- Entrapment protection calibration. Photo-eyes, safety edges, and pressure wave sensors all require testing against the UL 325 standard after installation or adjustment. The test involves verifying reversal force with a gauge, not just watching the gate bounce back. Doing it by feel is how gates end up labeled “safe” while still capable of breaking a wrist.
- Any repair that requires joining or running new electrical conduit. In Pocket, exterior electrical work falls under Sacramento County codes and requires permitting for significant runs. A weekend splice that works in June can corrode by December and create a shock or fire hazard.
- Control board replacement on a gate that is part of an access control system. If your gate ties into a keypad, phone entry, or HOA system, board replacement isn’t a board swap. It’s integration work that requires understanding the existing wiring, the third-party peripheral, and the door/gate logic. One crossed wire and the gate opens when it should close.
The common thread is the word “calibration.” A gate is not a light fixture. It’s a machine that moves hundreds of pounds through space where people walk and drive. Calibrated correctly, it’s safe. Calibrated incorrectly, it’s a slow-motion hazard. Most DIYers can bolt things together; almost no DIYer can calibrate a force profile against a standard they’ve never read.
Task-by-Task Matrix: DIY or Pro
Here’s the whole guide in one table. If you only remember one section, remember this one.
| Task | DIY? | Why | Typical Pro Cost in Pocket |
|---|---|---|---|
| Remote battery replacement | Yes | No tools, zero risk | N/A |
| Lubrication | Yes | Routine maintenance, prevents bigger failures | $75 – $120 if done as part of a tune-up |
| Tightening visible bolts | Yes | Low risk, immediate benefit | Included in tune-up |
| Remote reprogramming | Yes (if manual is available) | Brand-specific but not tool-specific | $65 – $110 if you’d rather not |
| Track cleaning on slide gates | Yes | Maintenance, not repair | N/A |
| Hinge or roller replacement | Conditional | Mechanical, but gate may need support; a sagging gate complicates alignment | $180 – $350 depending on gate size |
| Photo-eye realignment | No | Entrapment protection; calibration required | $100 – $200 |
| Safety edge replacement | No | Entrapment protection; electrical splicing and calibration | $150 – $275 |
| Control board replacement | No | Electrical, access control integration | $300 – $600 |
| Operator replacement | No | High voltage, UL 325 compliance, manufacturer warranty | $800 – $1,800 installed |
| Post replacement or reset | No | Structural, Pocket soil issues, concrete work | $450 – $900 per post |
| Spring or counterweight work | No | Stored energy, serious injury risk | $200 – $450 |
These ranges reflect typical pricing in the Pocket area as of early 2026. The gate’s size, the operator brand, and the access layout shift costs in either direction. A slide gate on a wide driveway with a Viking operator costs more than a single swing gate with a Ghost Controls unit. See the Gate Repair in Pocket page for more detail on what local repair jobs involve.
The Real Cost of a DIY Operator Replacement
Let’s put an honest price tag on the most tempting DIY project: swapping a failed gate operator. Homeowners see a $1,200 quote and recoil, then find the same operator online for $700 and think they’ve saved $500. Here’s what actually happens.
The operator itself costs $700 to $900 for a residential unit from a reputable brand. But you’ll also need mounting hardware, potentially a new power disconnect, wire, connectors, conduit for any exposed runs, and tool rental or purchase if you don’t own a hammer drill with masonry bits and a multimeter. Add $80 to $150. Pocket’s soil is a factor too; if the operator mounts to a post set in our clay-heavy ground, and the post moves, the operator’s alignment goes with it. A pro might tell you the post itself needs reinforcement. A DIYer discovers that after the new operator drags itself out of alignment in six weeks.
Now the labor. A first-time operator install, following the manual, takes a weekend. A professional completes it in three to five hours and spends another hour on entrapment testing. If the DIY install has an error, the callback isn’t free: diagnosing a control board issue after a botched install often costs more than the original professional install would have, because the technician is now troubleshooting someone else’s work. We’ve seen it in Pocket: homeowner spends $900 on parts and tools, the gate doesn’t close properly, the call to fix it runs $400, and the final bill exceeds the original quote by a wide margin, with no warranty from the manufacturer, because the install wasn’t done by an authorized dealer. The warranty point matters. Most major brands, Elite and DoorKing included, void or significantly limit warranty coverage when installation is not done by a qualified professional. You don’t save $500. You spend $500 more and own the risk.
Pocket Soil and the DIY Post Repair That Fails by Spring
Here’s the Pocket-specific failure you won’t find in any gate repair manual. Our soil is Sacramento Valley clay. It expands when wet in winter and contracts when dry in summer, and Pocket sits low enough that winter moisture hangs around longer than in nearby areas on higher ground. That movement isn’t dramatic, usually half an inch or less per season, but a gate post doesn’t need much movement to pull a swing gate out of alignment or bind a slide gate on its track.
The classic DIY project is a leaning post. Homeowner sees the gate sagging, attributes it to the post leaning, digs out the old concrete, resets the post with quick-set, pats the dirt, and declares victory. It looks fixed in July. By February, the post has moved again, because quick-set in clay without proper gravel drainage just creates a new void for the post to shift into. A professional post reset in Pocket involves over-excavating the hole, adding a gravel base for drainage, using a proper concrete mix and depth, and bracing the post while it cures. That’s not contractor mystique. It’s responding to the actual soil we build on. If your gate post is leaning, the repair process starts with assessing the soil around the concrete, not just leaning the post back and hoping.
For a slide gate, Pocket’s dry summers create a different nuisance: fine dust and grit that works its way into V-track rollers and chain assemblies. The track looks clean but the rollers are grinding themselves down. Homeowners can clean and lubricate rollers. What they shouldn’t do is replace them and assume alignment is automatic. Slide gates carry their weight across multiple points, and a single misaligned roller transfers load to the others, shortening their life considerably.
Preparing for a Professional Visit: Cut Diagnostic Time in Half
Whether you’ve tried a DIY fix or not, the day will likely come when a professional makes sense. The single best thing you can do to control cost is prepare before the technician arrives. Gate technicians bill for time on site, and diagnostic time is real time. Here are the three things that genuinely shorten a service call, and they’re all things you can do in fifteen minutes.
- Document the symptoms precisely. “It doesn’t work” isn’t enough. Write down when it started, what it’s doing now (open but won’t close, closes but reverses mid-cycle, makes noise but no movement, no response to remote or keypad), and whether it seems worse at certain times of day. If the gate works but is slow, say so. If it stuttered for a week before failing, say that too. The difference between “intermittent” and “gone” points a technician in opposite directions in the first sixty seconds.
- Photograph the equipment and any labels. Take clear photos of the operator, the control board, the keypad, photo-eyes, and any labels showing brand and model. Gate operators hide model numbers in awkward places, and a photo taken with a phone flashlight saves the technician from squatting in the dirt for ten minutes. This is especially useful with older DoorKing or Elite units where the model decal has faded but is still partially legible. The photos also help the electric gate repair technician arrive with the right parts on the first trip.
- Know the gate’s history. When was the last time anything was done to it? Did a handyman work on it last year? Did the previous owner mention replacing the operator, or is this the original from when the house was built? Has the gate been hit by a car, nudged by a delivery truck, or knocked by a falling branch? Every one of those events changes the diagnostic picture, and remembering them saves the technician from discovering the same history the expensive way, by taking things apart.
Common Mistakes to Avoid
- Starting with the operator when the gate is hard to move manually. If you can’t push the gate by hand, the operator isn’t the problem (or isn’t only the problem). A gate that fights the operator wears out motors prematurely. Fix the mechanical movement first, then evaluate the electronics.
- Ignoring the manual when reprogramming a remote. Every brand has its own sequence, and some (Ghost Controls especially) have model-specific quirks that common internet advice gets wrong. Using the wrong reset sequence can wipe existing remotes from the board and turn a simple task into a frustrating one.
- Using WD-40 on gate components. WD-40 is a solvent, not a long-term lubricant. On hinges and rollers it washes away what little grease remains and accelerates wear. Use white lithium grease or a proper silicone lubricant instead.
- Replacing a battery and assuming the board is fine. Dead batteries leak. A corroded battery holder looks like a battery problem but often means the keypad or remote needs replacement, not just fresh cells.
- Forcing a gate closed when it’s bound or stuck. If a swing gate won’t move freely, forcing it risks bending the hinge mounts or cracking a weld. A bent hinge plate is a bigger repair than whatever was causing the bind in the first place. This is one of the more common repairs we see following a frustrated weekend in Pocket.
- Buying a “universal” operator off the shelf without checking compatibility. Universal doesn’t mean universal. Gate weight, cycle frequency, and power requirements all constrain which operator works. A $450 big-box unit on a 14-foot iron gate burns itself out in a year, and the manufacturer won’t cover it because it was undersized for the application.
- Leaving the gate on manual release and forgetting about it. Disengaging the operator to push the gate manually is fine for a day. Left disengaged for weeks, the gate rolls or swings free, and a wind gust in Pocket’s spring storms can slam it hard enough to damage hinges, rollers, or a parked car.
When to Call a Professional
Call a professional when the gate stops moving and fresh remote batteries don’t solve it. Call one when the gate reverses unexpectedly, when it makes a grinding or clicking sound it didn’t make before, when it opens but won’t close, when it closes too slowly or too quickly, when you see exposed wiring or a loose control board, or when you can’t remember the last time anyone maintained it. If the gate is automated and the failure is beyond a dead battery, the safe move is diagnosis before disassembly. For Pocket homeowners, Gatehouse Gate Repair specializes exclusively in gates: residential and commercial, manual and electric. We work on LiftMaster, FAAC, BFT, Linear, Viking, Ghost Controls, DoorKing, Elite, and Mighty Mule systems. If you’re weighing a repair against replacement, see the Gate Installation in Pocket page for what a full new system involves. Gatehouse Gate Repair offers free estimates in Pocket. Call (833) 620-5971 if your gate is misbehaving and you’d rather have an answer than a guess.
Frequently Asked Questions
Most residential gate repairs in Pocket run between $150 and $500 for typical issues like sensor realignment, limit switch adjustment, or remote reprogramming. Operator replacement runs $800 to $1,800 depending on gate size and brand. Post resets run $450 to $900. The exact quote is always agreed before work starts, and estimates are free. Call (833) 620-5971 for a specific price on your gate.
You can, technically, but the combined costs of parts, tools, and the likely correction visit usually exceed the professional quote, and you lose the manufacturer warranty, which requires qualified installation. Operator replacement also requires UL 325 entrapment calibration that most homeowners have never performed and cannot test without specialized equipment. In our experience, the homeowner who replaces an operator themselves usually pays more by the time the gate works correctly.
A gate that reverses mid-cycle is almost always reacting to a blocked or misaligned photo-eye, an entrapment sensor that reads resistance as an obstruction, or an incorrectly set force limit. The gate thinks something is in the way and backs off as designed. It can also be a track obstruction on slide gates, especially common in Pocket’s dusty summers. The fix requires checking safety device alignment and force settings, which falls on the professional side of the DIY line.
Usually not. A leaning post from soil movement or gradual wear is classified as maintenance, not sudden damage, and most carriers exclude it. If the post was struck by a vehicle or a falling tree, that’s a different claim category and may be covered. Check your policy language, but expect that gradual movement in Pocket’s clay soil is a homeowner expense, not an insurance claim.
We service nine major gate automation brands: LiftMaster, FAAC, BFT, Linear, Viking, Ghost Controls, DoorKing, Elite, and Mighty Mule. That brand-agnostic coverage matters because the right fix depends on the system you already have, not on steering you toward whichever brand is easiest for the technician to source. If your operator is a Viking and your keypad is a DoorKing, we work on both without blinking.
At minimum once per year, and twice per year if the gate is automated and cycles more than ten times daily. Pocket’s dry summers accelerate lubricant breakdown on metal components, and the winter moisture settles into hinges and electrical connections. A $150 annual tune-up catches hinge wear, photo-eye misalignment, and dead batteries before they become a $900 repair or a gate that won’t open on the one morning that matters. For electric gates, the maintenance needs extend to checking entrapment protection per UL 325, which should happen at every service.
The Bottom Line
Most gate repair work belongs in a professional’s hands, not because homeowners lack intelligence, but because gates combine stored mechanical energy, electrical systems, and federally regulated safety devices in a way that punishes mistakes unevenly. The DIY tasks that make sense are simple, mechanical, and have no safety component: lubricate, tighten, clean, reprogram, replace batteries. The entire rest of the field, operator work, springs, sensors, boards, wiring, posts, carries either injury risk, liability risk, or warranty risk, and usually all three together. The homeowner in Pocket who understands that line saves money, not by avoiding professionals, but by avoiding the much larger bill that follows a weekend attempt gone wrong.
Written by the team at Gatehouse Gate Repair, serving Pocket since 2018.
See the difference
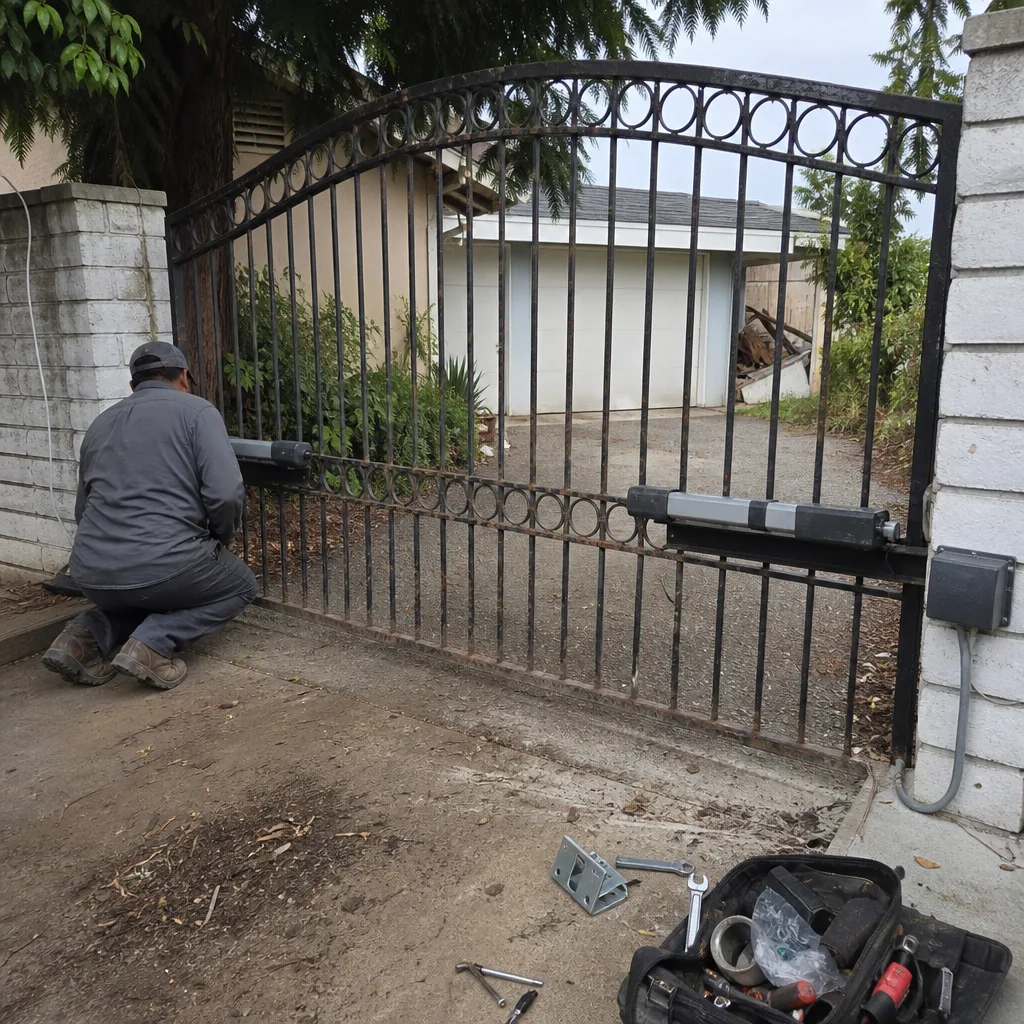 Before
 After
 Before
 After
 Before
 After